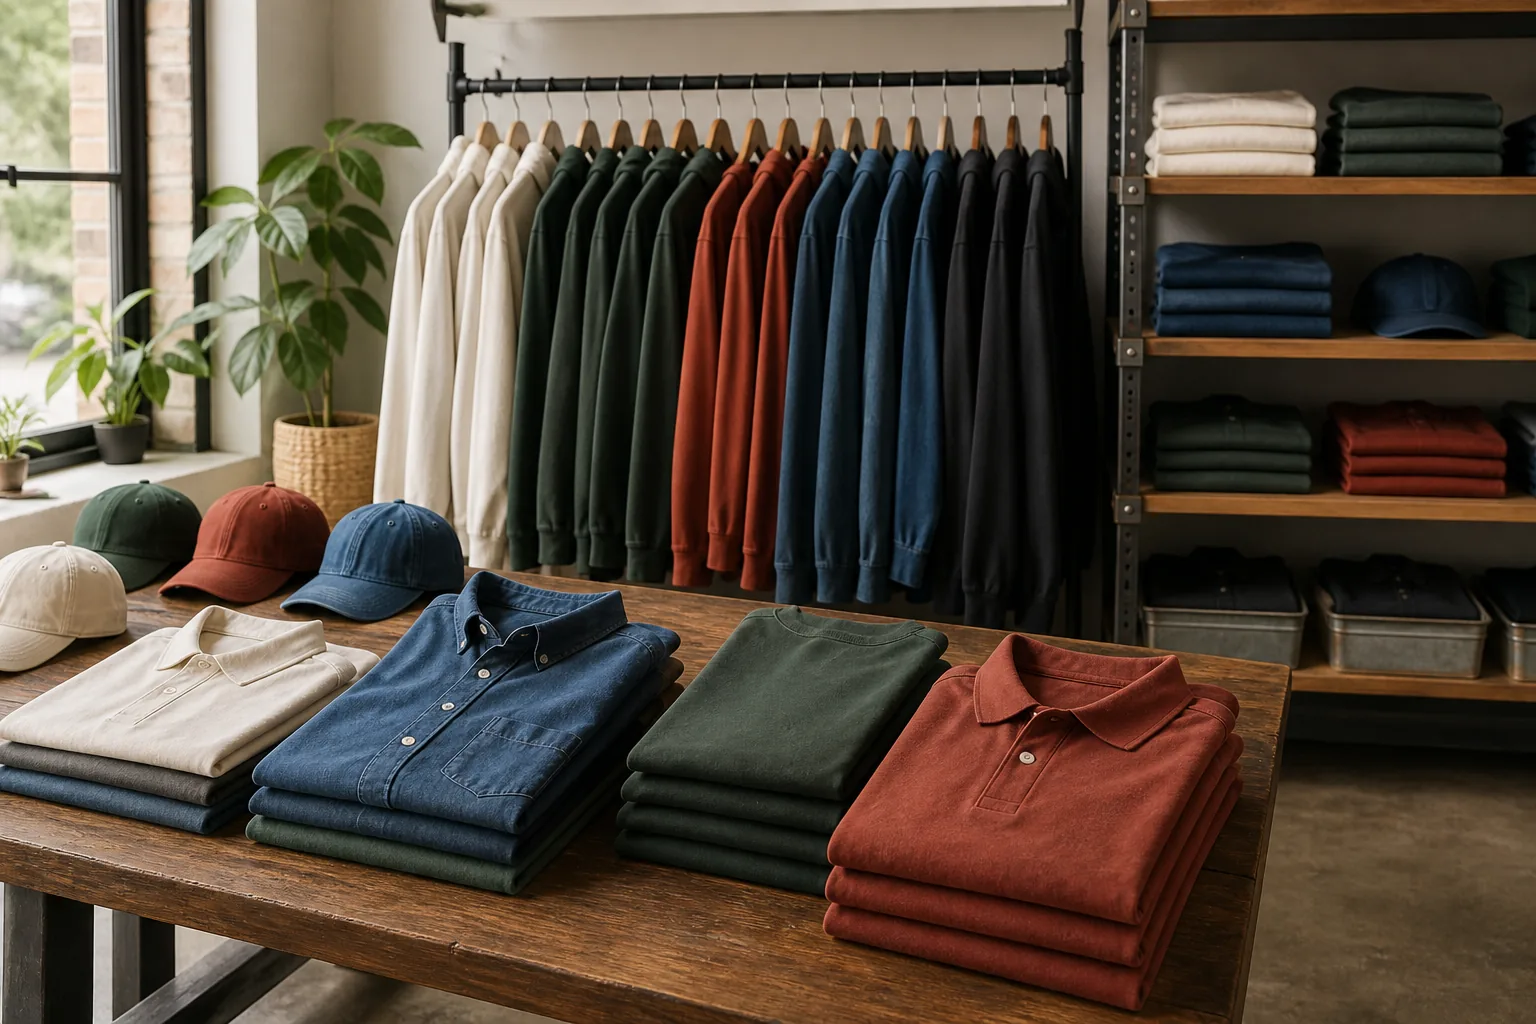
Event shirts are often doing several jobs at once: they identify volunteers, raise funds, celebrate a milestone, or give attendees something useful to take home. That makes the timeline more than a production deadline. It is a coordination tool.
Set the non-negotiables first
Write down the event date, when the shirts must be in hand, expected audience, target quantity, budget range, and distribution plan. A shirt needed for a volunteer meeting has a different deadline from one handed out at an event registration table.
Lock the artwork before counting on production time
Artwork can change the garment, print size, color count, and decoration method. Send the most final version available and identify what cannot change. If several people need to approve the design, set an approval deadline rather than letting the decision float.
Choose quantities with distribution in mind
Separate presold or named shirts from general extras. Make the size plan visible. If the event has multiple groups—staff, participants, sponsors, or attendees—use separate counts so one group’s changes do not distort the whole order.
Plan the handoff, not only the print
Decide who receives the order, where it goes, how it will be sorted, and who checks the counts. For a large event, labeled boxes or a simple distribution list can be as important as the decoration itself.
Use the T-shirt size-run guide to finalize sizes, then learn about event T-shirt printing before requesting a quote.
Frequently asked question
What is the first deadline I should set?
Set the date when the final artwork, garment, total quantity, and size mix must be approved. That is the point at which the rest of the order can be planned with confidence.